Preparing for a Kitchen Photoshoot
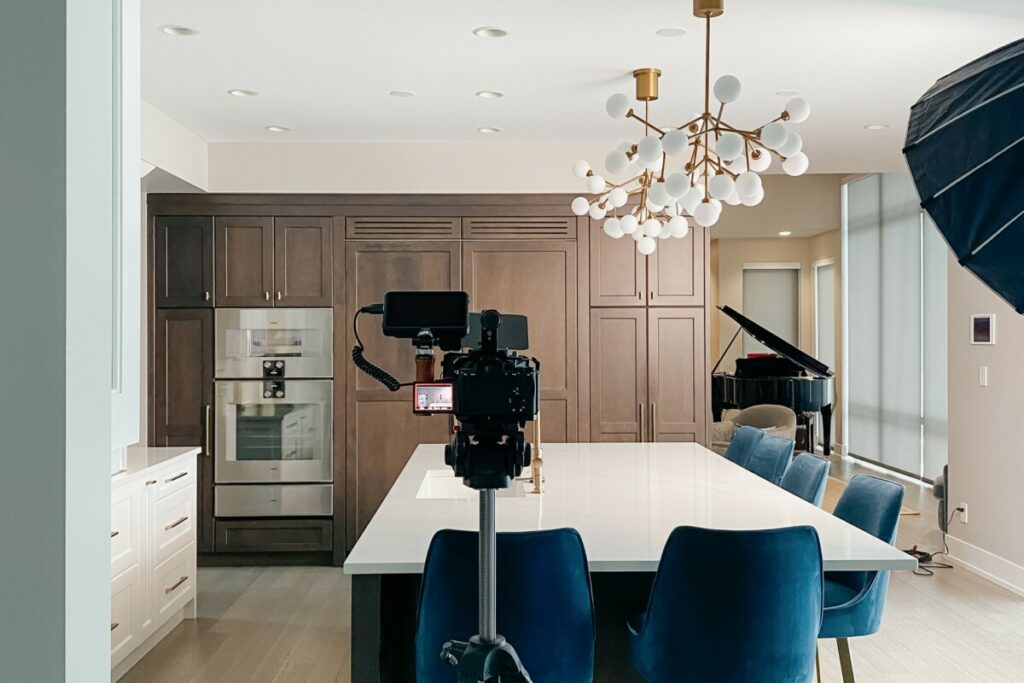
We share a lot of tips and tricks when it comes to the design and renovation process, so what about after it’s all done? One of our favorite parts of a kitchen/bath/office project is getting to see the final results and get the chance to share images on our social media and website with others. When planning photoshoots for our projects we like to keep the process as simple for you (the homeowner) as possible!
Below are a few tips to help you prepare for the project photoshoot with our team!
Before Scheduling the Photoshoot
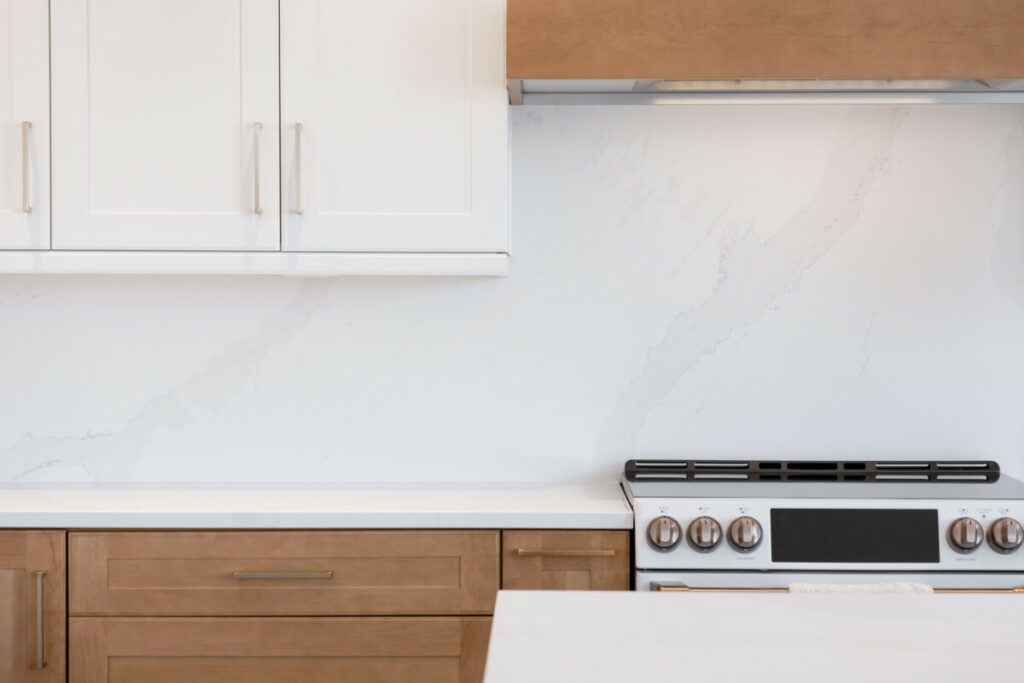
Before we even plan a date for the photoshoot, we like to ensure a few items are completed in your kitchen renovation:
- Cabinets, backsplash, and appliances are fully installed.
- If you have an island with seating it always looks better with stools/chairs in their place.
- This also includes any other furniture you feel may complete the space.
Day Prior/Day Of Photoshoot
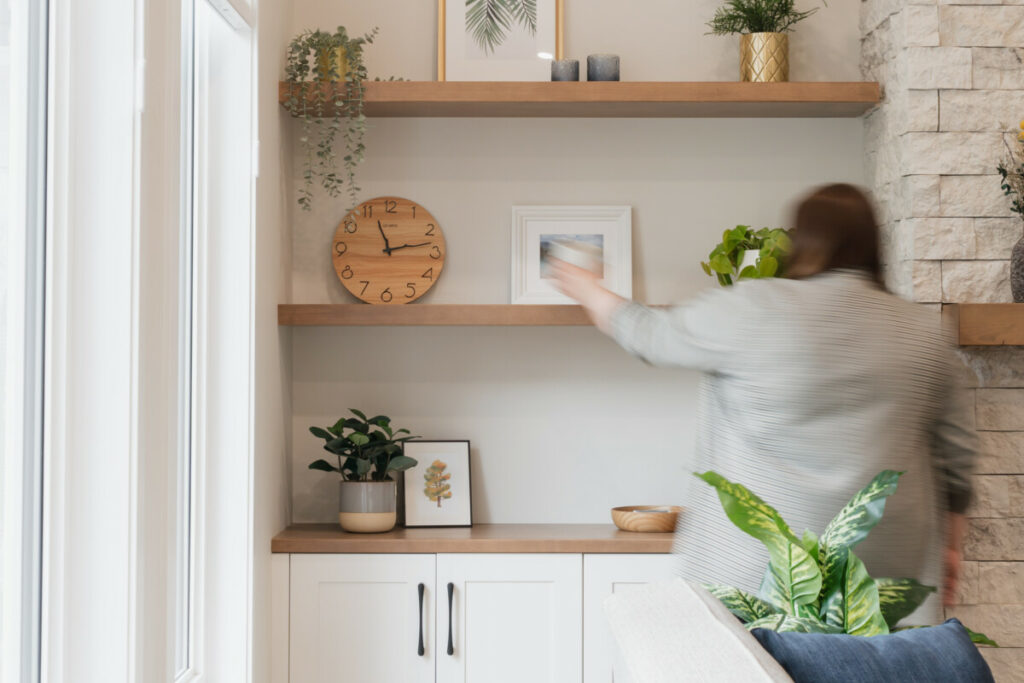
To get the best looking images decluttering and cleaning the space go along way in making a home look open and inviting. Our team will take care of the making sure the space looks it’s best, however to save time during the scheduled shoot, removing these items can be a huge help:
- Remove dirty dishes, food, etc.
- Clear counters of clutter and most small appliances.
- Clean surfaces and appliances. Hide soaps, towels, cleaning items, etc.
- Store draining racks
- Remove excess furnishings, accessories, fridge magnets, and knick-knacks from the space
- Remove seasonal/holiday decorations
- Remove pet bowls/beds/toys
While we love to see your space made into home, we also want to protect your privacy when taking images. This means depersonalize the space as much as possible with putting away family photos and any potentially offensive art.
Keep in mind that even small specs of dirt will show up in the images (especially on dark cabinetry!) Our team will always have a cloth on hand, but giving your cabinet fronts/shelves and appliances a quick wipe will provide the cleanest looking images.
What to Expect During the Photoshoot
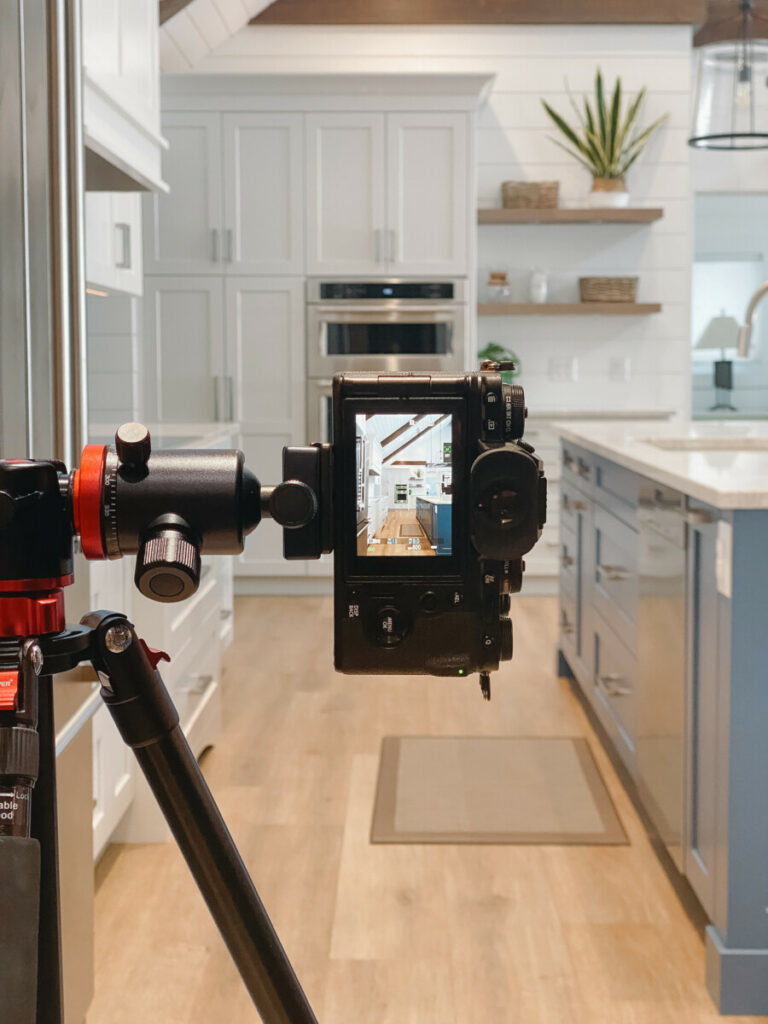
While removing all those items from your space will help in making the space look the best, it can make the space look a bit too empty (we still want it to look homey!). Our team is prepared with a few staging items to help elevate the space – while avoiding using your personalized items.
We understand you’re busy and want to respect your time, so while we’re taking photos, you may choose to stay in the room and visit, or, if you prefer, you are welcome to do your own thing while we photograph your space. Having least amount of people in the space also helps in preventing unwanted shadows/reflections and having to request you move around the space behind the photographer.
Every kitchen and project is different in the size and images we want to capture. The average length of a shoot is 1-2 hours. This includes set-up (as needed), photos and video of the space, and clean up.
If you’ve had Two30Nine cabinetry installed in your home, we want to share it with others we would love to hear from you! Send us a message and we will get in touch with you.
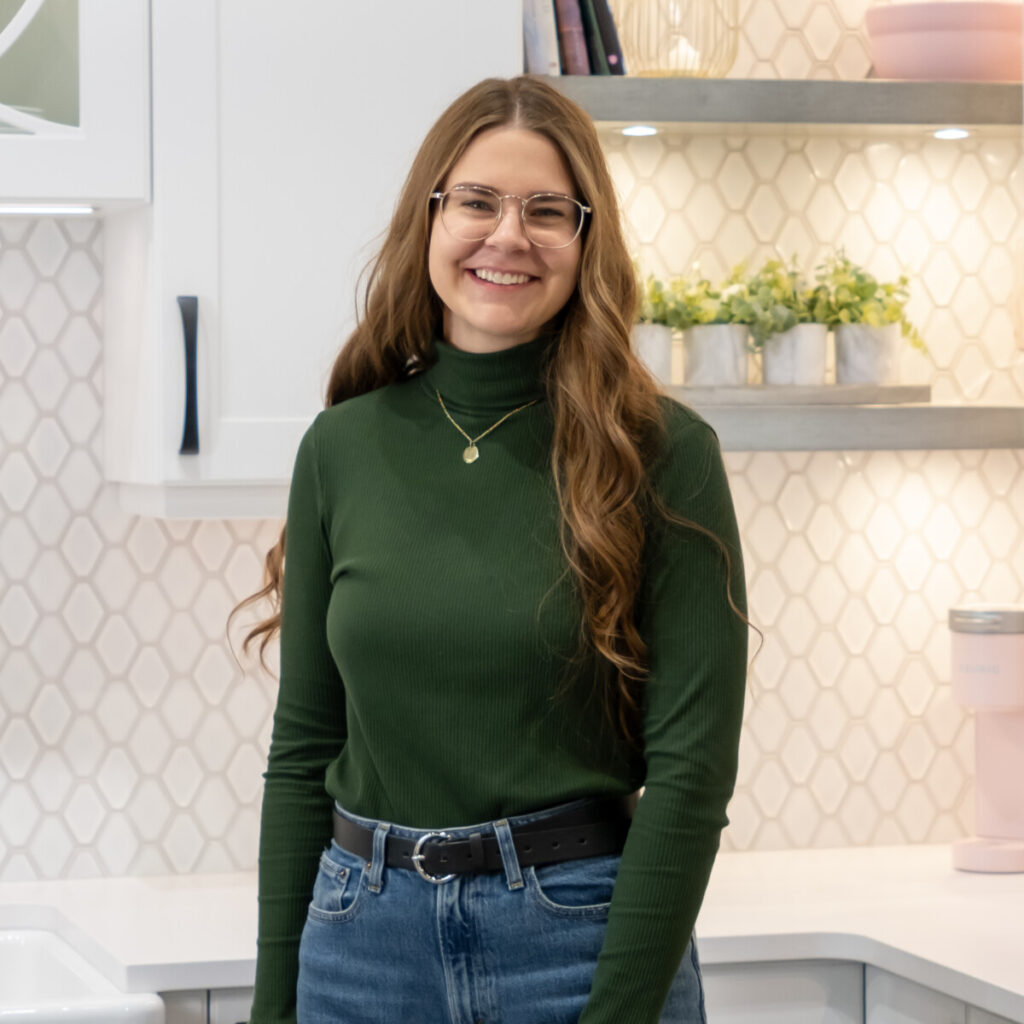
Joanne Penner
Joanne joined the Winnipeg team as the project coordinator in 2022. When she’s not keeping the Winnipeg team on schedule, she can be found (with a coffee in hand) capturing images of their beautiful kitchens and managing the Two30Nine social media.
Recent Posts Picked For You
- Kitchen Essentials: Creating a Kitchen That Works as Hard as You Do
- Pros & Cons of Open Shelving in the Kitchen
- The Role of AI in Kitchen Design: A Helpful Tool, Not a Complete Solution


